Virginia

Population: 8,260,405
Capital: Richmond
Admission to the Union: June 25, 1788
Source: Wikipedia
Wow Virginia, your unique culinary tradition astounds me! (Note sarcasm)
I’ve visited Virginia many times in my life. Most of those visits have been to Northern Virginia, either on visits to DC when I was younger or, more recently to visit Becky and Ben. I’ve also visited the Richmond area and Virginia Beach more than once, though. Still, I wracked my brain to think of anything that I ate there or saw on a menu that was particularly distinct and I came up blank. I’ve enjoyed plenty of good meals in Virginia, but none that seemed unique to the state. It was time to call in the experts.
I started by asking Becky, a life long Virginian, who replied; “Honestly I can’t think of anything except ham.”
Hmmm, well heating up a pre-made ham wasn’t going to cut it for the 50 States Project so I decided to ask Chris, who earned his undergraduate degree at Virginia Tech. I asked him to really think about it. I even said that it could be something unique to the Virginia Tech campus, like a favorite dive restaurant where all the students ate some crazy concoction. Unfortunately, he too came up blank.
An internet search was equally unhelpful so it was back to the drawing board and time to dig deep. I decided to think of non-culinary related things that I associated with Virginia and as an American History nerd it didn’t take me long to come up with Thomas Jefferson who among many other accomplishments, was also America’s first foodie.
Full disclosure here: I am not a fan of Thomas Jefferson. While I appreciate his contributions to our nation, I think he was a giant hypocrite and a jerk. This is also partly due to the fact that I have a total fan girl crush on one Mr. John Adams (yes, you read that right and yes, I really am THAT nerdy). In fact Chris will happily tell you all about the time I had a little too much to drink and loudly proclaimed to our friends, “You know who the real architect of Independence was!? John motherf*ucking Admas! That’s who!” What can I say, I’m passionate.
Anyway, back to food. One thing I will give Jefferson is that he was fiercely committed to eating good quality food. He’s often associated with ice cream as he is one of the people that popularized it in this country. Light bulb: I should make ice cream to represent Virginia!… But I don’t have or even want an ice cream maker.
Of course a little Googling returned several methods for making ice cream without a machine. I chose the David Lebovitz method since I’m a big fan of his.
The magical internet also revealed to me Thomas Jefferson’s actual vanilla ice cream recipe! I adapted the recipe very slightly and significantly reduced the quantity as we certainly don’t need 4.5 pints of ice cream, but I stuck pretty close to the original recipe and it was great.
Almost Thomas Jefferson’s Vanilla Ice Cream
- 2 egg yolks
- 1/4 cup sugar
- 2 cups good quality cream (go with the organic non-homogenized stuff if you can)
- 1/2 cup whole milk (ditto)
- 2 teaspoons good quality pure vanilla extract (I had meant to use half a vanilla bean, but forgot to buy one. However, the extract worked great and is a lot cheaper)
Place a metal bowl in the freezer.
In a mixing bowl, whisk together eggs and sugar. Set aside.
Pour cream and milk in to a medium saucepan then stir the vanilla and bring to a simmer over medium heat. Remove from heat and temper eggs by slowly adding tablespoons one at a time to the egg and sugar mixture, stirring constantly and vigorously. After maybe 5 or 6 tablespoons pour the mixture back in to the pot with the remaining cream. Turn the heat to medium and stir constantly until mixture is thick enough to coat the back of a spoon. Remove from heat.
Prepare an ice bath with a clean mixing bowl in the center. Pour the custard through a strainer in to the bowl and let sit until the mixture feels like it’s about at the temperature it would be if you’d just removed it from the refrigerator.
Once the mixture has cooled, pour it in to the bowl in the freezer and leave it alone for about 45 minutes.
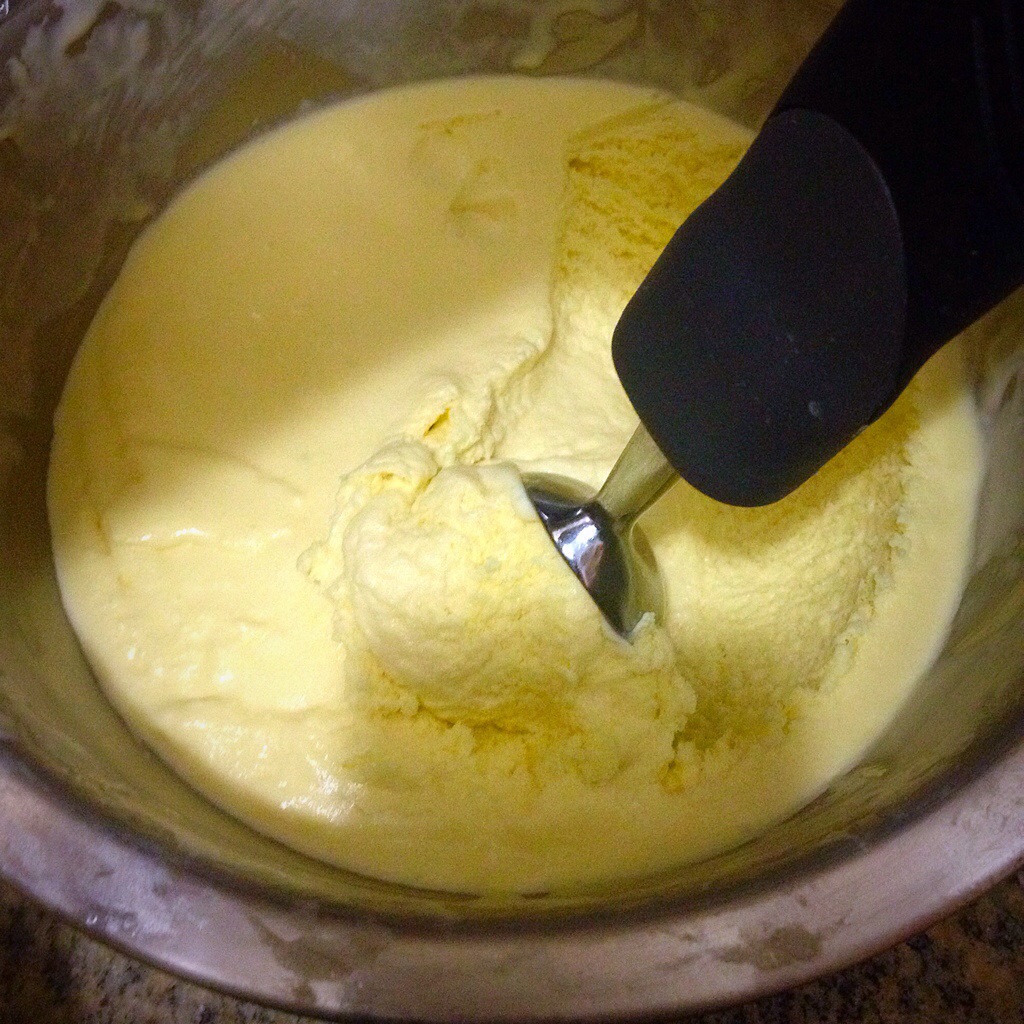
After 45 minutes, check on it. Some freezing should be happening just around the edges. Scrape down those edges then grab your hand mixer and give it a good mix for maybe 30 seconds to a minute so you can break up the ice crystals this and keep your ice cream light and creamy.

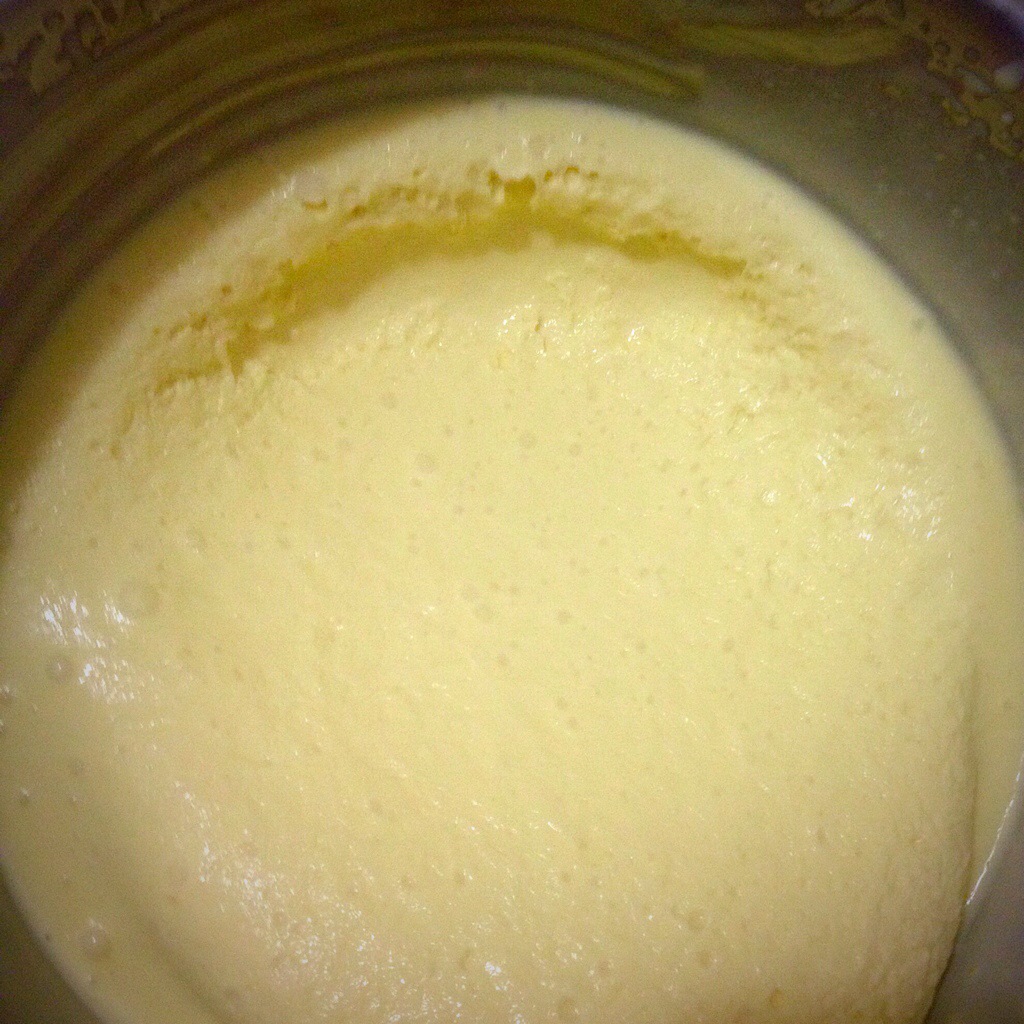
First look after 45 minutes. Edges just starting to freeze.
Put the bowl back in to the freezer and leave it for 30 minutes. Again take the bowl out of the freezer, scrape down the frozen edges and beat it up.

After a couple of hours.
Repeat this every 30 minutes until the ice cream has reached soft serve or slightly melty ice cream consistency*.
Cover the ice cream tightly and leave overnight**

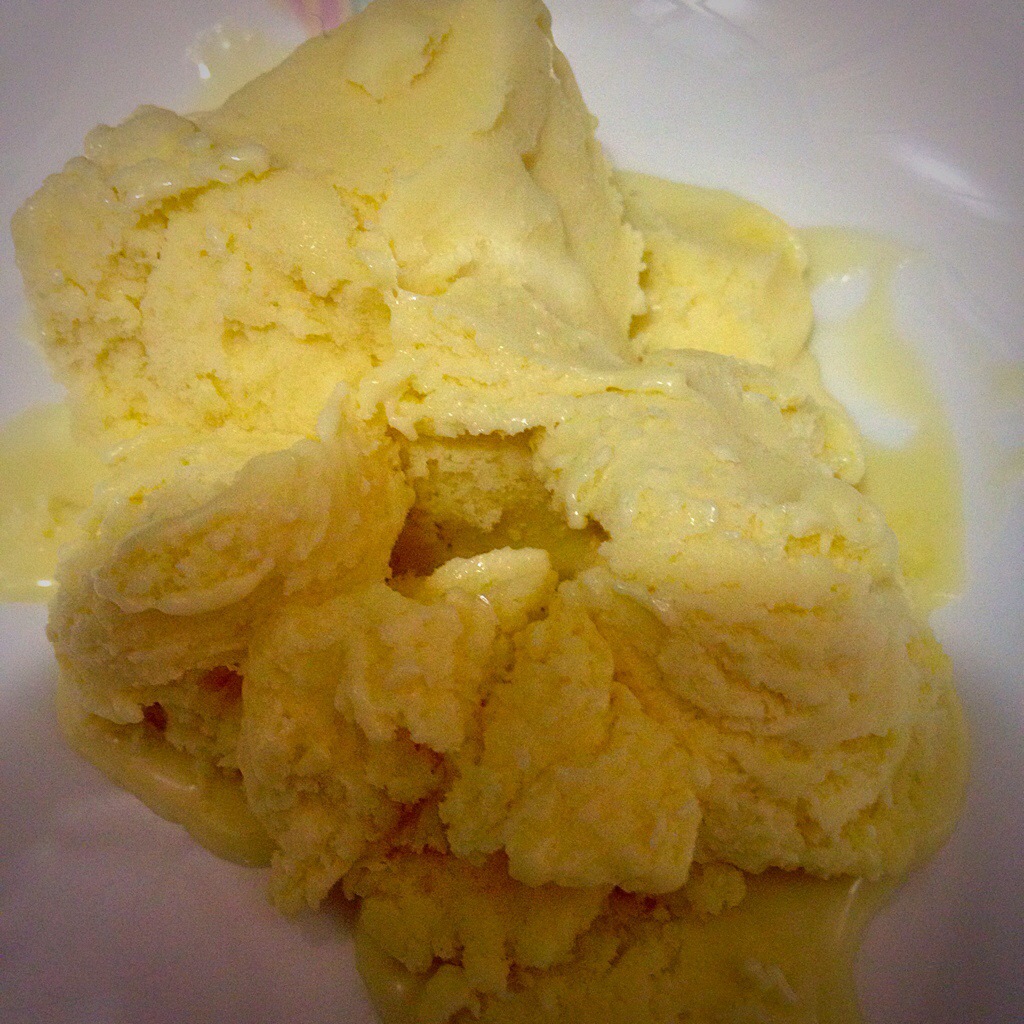
We have ice cream!
Enjoy!
Notes:
*David Lebovitz suggests this process takes about 2-3 hours, but it took me more like 5 hours. Luckily Chris and I had decided to stay in to clean and organize on Saturday.
**David Lebovitz also says nothing about leaving the ice cream overnight. In fact, we first ate the ice cream on Saturday night thinking that ice cream made this way stays at a soft serve consistency which was fine since it was delicious anyway, but when went in for leftovers on Sunday night the ice cream had hardened up and was the same texture as what you’d get when you open a pint of Häagen-Dazs which we liked even better.
All in all this was super delicious and fun!

Yum!